Handmade Funny Feminist Gifts
Support Small Business
Shopping small isn’t just a purchase, it’s a direct vote for creativity, individuality and real human graft over mass-produced mediocrity.
When you support a small business like Everyday Womtras, you’re backing independent artists, handmade products, and original design — not faceless factories churning out identical, forgettable goods. Every order supports a real person (hi), a real process, and genuinely hand-drawn funny gifts, feminist artwork, sarcastic greeting cards, mugs, prints and unique lifestyle products made with intention, personality and a healthy disregard for "normal"
Small businesses bring diversity, character and innovation to the market, offering unique gifts for women, funny presents and bold illustrated designs you simply won’t find on the high street. So when you shop small, you’re not just buying a product — you’re supporting creativity, empowering independent makers, and choosing something with actual soul.
This page is about that process of creation: from how I turn my doodles into digital drawings I can reproduce, to experimentation, failure and ultimately a somewhat chaotic manufacturing facility set up on my living room floor.

My Unique Handmade Process

How I Make My Everyday Womtra A4 Prints
From my chaotic doodles and random thoughts I whittled the gaggle down to a core group of characters. I photographed my drawings, and edited them in canva until I was satisfied with their balance of grotesqueness and lovability.
I use this core gaggle to create variations. For example, I borrowed Clive's hair and carefully edited it onto Klaus, my Father Christmas character, made some tweaks and voila - Fred, the hedge dwelling druid. Every element of every character is from my original drawings.
Once my womtra is paired with it's character, I lay it out in canva with my logo, and send it to my super fancy printer. It's an inkjet Epson P-900 SureColour. Tis a sexy beast.
But it doesn't stop there, now comes the presentation. A copy of each Everyday Womtra is added to my folder, so I have a complete physical book of unhinged madness. I then cut an A4 rectangle out of the nearest cardboard box, and pop it in a cellophane sleeve along with the finished print.
How I Make My Greetings Cards
I layout my designs in a series of A4 pages in canva. This includes the unique character and hand drawn text along with the logo website address and copyright information on the back.
I print my designs in black and white on 300gsm high white card using my Epson P-900. It's a super fancy printer.
I score each page using my score board. I checked the name of the instrument, and yes, it is called a score board. Does exactly what it says on the tin.
I slice each A4 sheet into two with my tiny guillotine (one day I'll invest in a more efficient slicing devise, but they are not cheap); fold the finished card; pair it with an envelope — making sure not to obscure the branding on the reverse of the card; then slot it into an C6 clear plastic sleeve and seal it closed.
Done.
Ideally I wouldn't use single use plastic for my greetings cards. In an effort to be sustainable, I didn't used to, but when attending outdoor events and even those inside temporary structures, paper based products get damp. This was a problem, so the plastic sleeve in an unfortunate necessity.


How I Make My Insulted Tumblers, Leakproof Water Bottles & Funny Mugs
Now this is a laborious process which takes an absolue age.
I use my Cricut mug press for all three of these products. It's cost saving - I don't have the funds for a proper sublimation oven, but it's super time consuming.
I print my designs using my Sawgrass, carefully wrap them around each product, keeping them as straight, and secure with plenty of heat resistant tape. Too little tape leads to ghosting because the image is not properly secured to the material. Learned that the expensive way.
For mugs, once through the press is enough. Leave it to cool, and beautiful. Done.
Bottles and tumblers are another matter. I put them through three times to ensure I get a crisp finish. My standards are very high - which is why my studio seconds are such good value.
Access to studio seconds is exclusive to the Absolutely Feral Inner Circle members.
How I Make My Hardback Notebooks
This too was a learning curve with a lot of rejects en route.
A heady mix of optimism, belief in my own ability and ADHD often leads to questionable decisions.
I like the hands on approach. Everything I make is entirely made by me. The exception is the blanks. I of course intend on teaching myself bookbinding. There's nothing YouTube can't teach. But, for the sake of time, I ordered 1,000 polyester coated notebooks.
I print my designs onto heat transfer paper using my Sawgrass SG500 Virtuoso A4 Sublimation Printer then heat press them onto the hardback cover. Once cooled, I peel off the adhesive from each inside page and stick in the pages.
Sounds simple enough. Wrong. This is a minefield. The glue is what I image dock yard workers would use to attach their touppes in a cyclone.
So many failures en route to success. But now, I have indeed mastered the notebook. and they look fantastic. They're the perfect size, strong as an ox and lines are satisfyingly spread - it's those details I find rewarding.


How I Make My Canvas Tote Bags
Totes have been a nightmare to perfect. First, sublimation printing needs to be onto polyester, but polyester totes don't look great. They're prone to blurring if the equipment settings and timings are not 100% accurate. They're also flimsy, which does not align with the strong attitude of the brand.
So, I tried pressing onto canvas, but they weren't bold enough and again, blurring was an issue.
Then, I was printing my vibrant octopus painting onto a tote and I realised I could try using the same iron on method for the Everyday Womtras.
Thankfully this worked out perfectly.
I layout my character and text in Cricut Design Space; add a decent sized transparent boarder; print on heat transfer paper and cut it with my Cricut Joy Extra.
Once it's cut, I use my Cricut heatpress to adhere the design to the canvas fabric. I love my canvas bags. They're the perfect size as a handy spare bundled up in my handbag, they fit A4 documents perfectly and they are super strong, much like my characters.
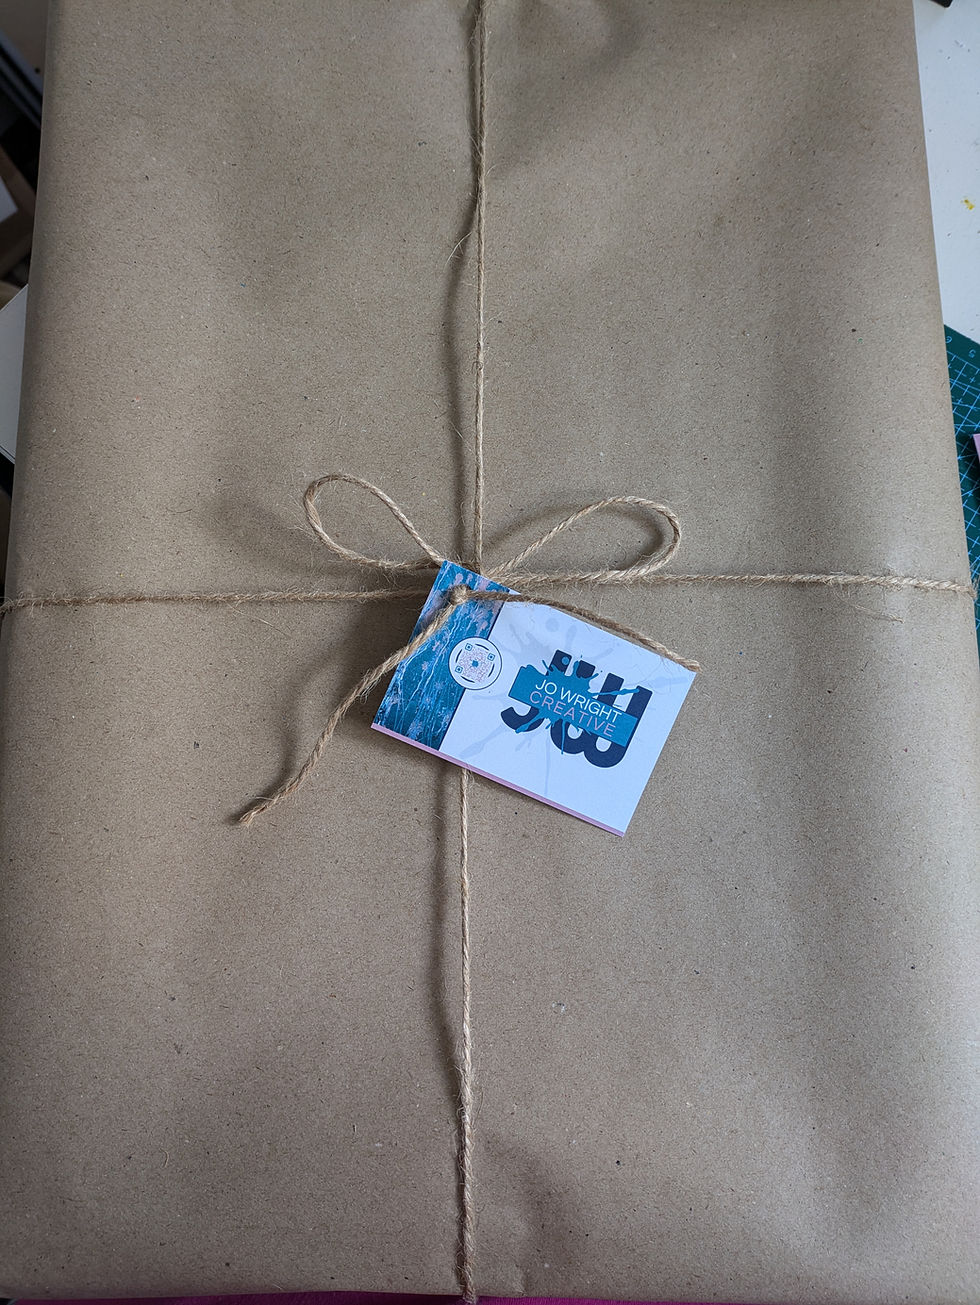
How I Ship Your Order
That's where you come in.
When you choose to buy from Everyday Womtras, it genuinely matters. Not in a vague, corporate, “we value your custom” sort of way — but in a very real, emotional and occasionally gobsmacked way.
I never take a sale for granted. Money doesn't grow on trees and when you decide to use yours to bring something I've created into your life, the feeling is pretty intense.
When your order comes through I'm most likely shout singing along to my latest obsession while crafting a blog post and simultaneously doodling more nonsence or contemplating by next painting.
I pick from my warehouse (aka my water tight keter shed) or make a new one if I've run out; safely and securely package it up and add the finishing touches; then I entrust Royal Mail with the efficient tracked delivery of your purchase.
Feedback is always encouraged. I love finding out where my creations end up. If you've got "curves for days and the sass to match" in your downstairs loo, or your colleague commented on your new funny mug, please tell me about it!
Without people like you, I'd have to go back to a corporate job. I'm not built for that world. This is my world and you're are welcome.